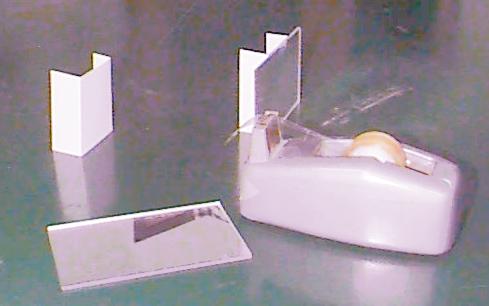

It will be useful to have a way to make a mirror stand up by itself.
Taping it to a block of wood works well, or you can fold an index card
into three panels and tape the middle panel to the back of the mirror.
The mirror needs to be pretty nearly vertical, and not visibily leaning
forwards or backwards. The following activities will work slightly better
if the mirror is standing up the tall way, so that it looks more like a
door than a billboard.
Now set up a light station that produces a sharp light beam crossing a flat white screen on the table top. Do the following three activities:
 For several placements of the mirror in the beam, measure the angle between
the incoming beam and the surface of the mirror,
and the angle between the reflected beam and the surface of the mirror.
(These are angles A and B shown on figure below.)
How are these related?
For several placements of the mirror in the beam, measure the angle between
the incoming beam and the surface of the mirror,
and the angle between the reflected beam and the surface of the mirror.
(These are angles A and B shown on figure below.)
How are these related?
Before you turn off the light beam, use a ruler to draw a line down the center of the beam on the viewing screen (the sheet of white paper on the tabletop). Then turn off the light, being very careful not to disturb the position of anything (it might be a good idea to tape down everything before drawing the line).
Place the first mirror somewhere intersecting the beam at some angle to it that you think will deflect the beam in an interesting way, and draw a line along the front edge of the mirror. By measuring angles, predict where the beam will go next after it is reflected by this mirror, and draw a line on the paper to represent this. Then place another mirror intersecting this line, and again mark its position and draw a line that predicts where the beam will go. Draw an X somewhere along this line, representing the target the beam is going to hit.
Now
turn on the light, and see where the beam actually goes!
Here is a photograph showing a possible path for the beam and
a target. The mirrors are not in their right places yet.
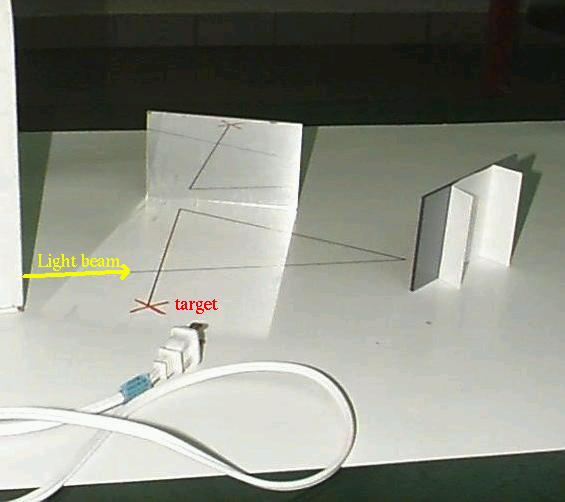
Actually hitting the target is hard -- it requires measuring all of the angles to within a few degrees. But you should be close enough that you are able to hit the target by moving the mirrors only a little bit; if not, you should measure the angles again, to see what went wrong.
This is an important and useful exercise. Write some notes to yourself
about any problems you had setting up the activity, and what went wrong
while doing it, to make it easier when you try this in your classroom.